Artist: HoYoverse
This guide explains what rerolling is in Honkai: Star Rail (HSR), how to reroll, how long rerolling takes, and who to reroll for.
Note that the information is subject to change; more extensive testing is in progress. Join our Discord to check on and participate in the theorycrafting process.
May 27, 2023 Update: We’ve updated our rankings and reasonings to reflect our stronger understanding of the game after a few weeks of gameplay. Gepard has been moved to A, and Himeko has been moved to B tier.
Table of Contents
What is Rerolling?
Rerolling is the process of repeatedly making new accounts until you pull a certain character with the free pulls you get for starting the game. In HSR, rerolling can offer a bit of long-term account value at the cost of a lot of time.
Artist: HoYoverse
Should I Reroll?
Probably not, no. While pulling certain 5 ★ can improve your early game experience, the time requirement for rerolling is prohibitive. It takes about 30-40 minutes to unlock the gacha system, and an additional 10 minutes or so to get an extra ten free pulls from hitting Trailblazer Level (TL5). Even if you optimize the process, you’re looking at somewhere around 40 minutes per reroll. In practice, that’s 36 rerolls on the Departure Warp (factoring in the 10 pull discount), or 30 rolls on the Standard Warp. The majority of the freebie pulls aren’t usable on Event Warps, so don’t bother. In any event, you’re looking at somewhere between 40 and 50 rolls per hour. This translates to spending days or even weeks rerolling, depending on your luck.
Let’s look at the loosest reroll parameters. Say you’re okay with three out of the seven Standard 5 ★, and would take any account that started with just one of them. The following table shows the general odds of getting one of them in X attempts, assuming each reroll is 36 pulls on the Departure Warp and takes around 45 minutes:
Pulling one of three specific 5 ★ on Departure Warp
| Reroll Attempts (X) | % Chance | Time (in-game) |
| 1 | 10% (Lucky) | 45 Minutes |
| 7 | 50% (Average) | 5 Hours, 15 Minutes |
| 23 | 90% (Unlucky) | 17 Hours, 15 Minutes |
| 45 | 99.9% (LAMENT) | 33.75 Hours (~1.4 DAYS) |
These numbers aren’t terrible, but the least lucky 10% of rerollers will be stuck grinding for almost a full day – and that’s assuming you do it all in one go. More realistically, the average person would have to spend nearly a full working day to get a character they’re happy with, and the unlucky person would need the better part of a week.
It gets worse. Say you want to roll for a specific character, and won’t settle for anyone else. You effectively cut your odds by two-thirds. Below are the general odds of achieving a specific outcome in X reroll attempts, assuming each reroll is 40 pulls on the Departure Warp and takes around 45 minutes:
Pulling for one specific 5 ★ on Departure Warp
| Reroll Attempts (X) | % Chance | Time (in-game) |
| 4 | 10% (Lucky) | 3 Hours |
| 21 | 50% (Average) | 15 Hours, 45 Minutes |
| 68 | 90% (Unlucky) | 51 Hours (2.125 DAYS) |
| 135 | 99.9% (LAMENT) | 101.25 Hours (~4.22 DAYS) |
This means that about 10% of people who reroll will get the character they want within 3 hours… but the average reroller might be stuck rerolling for the better part of a week. Things get uglier from there, too: if you’re particularly unlucky, you might be stuck grinding for weeks.
It gets even worse, though. Say you decide to spend your pulls on the Standard Warp instead for your specific character, so that you guarantee two 5★ (one from your Standard Warp rerolls, and another from the Departure Warp guarantee). Assuming each reroll lets you pull 36 times on the Standard Warp:
Pulling one specific 5 ★ on Standard
| Reroll Attempts (X) | % Chance | Time (in-game) |
| 7 | 10% (Lucky) | 5 Hours, 15 Minutes |
| 45 | 50% (Average) | 33.75 Hours (~1.4 DAYS) |
| 150 | 90% (Unlucky) | 112.5 Hours (~4.69 DAYS) |
| 299 | 99.9% (LAMENT) | 224.25 Hours (~1.33 WEEKS) |
Here are some things you could do with the time it will potentially take to reroll on the Standard Warp:
- Work a full time job for a few weeks
- Learn how to play guitar
- Enjoy the company of friends and family
- Finish a single game of Monopoly.
All of this is to say that rerolling isn’t impossible, but you should probably set low-ish standards for what you’re willing to accept. If anything, it might be better to reroll only if you get a character you hate.
How Do I Reroll?
- Create a new email and account for every reroll attempt.
- Note that you can somewhat “re-use” your email to minimize the headache involved. While traditional methods of “salting” your email do not work for HoYoverse games (such as adding “+”), you can add periods throughout your existing gmail (will depend on your email service otherwise) handle. For example, an email like “[email protected]” could be entered as …
- … all of which would be seen as a separate email for the purposes of account creation, while still redirecting any emails to the original email account.
- Be aware that the other common method of salting emails (adding +[#] to the end of the email – i.e. [email protected]) no longer works for HoYoVerse games.
- Play through the intro/tutorial, roughly 30-40 minutes, until you unlock the ability to Warp (HSR’s gacha system). Continue playing through the story until you reach Trailblaze level 5.
- Continue playing through the story until you reach Trailblaze level 5 and talk to Herta about the Simulated Universe.
- At this point you will have enough currency for 36 pulls on the Departure Warp, or 30 on the Standard Warp.
- As mentioned above, it is highly recommended that you spend your pulls on the Departure Warp. The Standard Warp also includes 5 ★ weapons in its 5 ★ pool, which effectively halves the odds you’ll get any specific unit. Unless you have unlimited free time, pulling on Standard Warp is an easy way to lose your sanity.
- Rinse and repeat until you get your desired 5 ★.
Who Should I Reroll For?
It depends! Some players just want specific characters for their visual appeal or personality. If that’s you, go for it!
However, the vast majority of players want meta options, or some compromise between meta and personal preference. This section will take a look at your options, and why you might want to pull for certain units. It is structured like a tier list to give readers a general idea of unit power level.
A few disclaimers, though, before we go any further. Honkai: Star Rail has just released, and while the KQM team has had time to test all 7 Standard 5 ★ in the Closed Beta, there’s a lot left to learn. These recommendations reflect our best knowledge as of release, and are subject to change as more discoveries are made. Additionally, it’s important to remember that a gacha game’s release meta is often very quickly replaced as limited banners begin to roll in. Even if something is good in the first month, there’s no guarantee that it will be good in a year. Don’t treat these suggestions as scripture!
TL;DR
| Rank | Character |
| S |  |
| A+ |  |
| A |     |
| B |
S Tier
Artist: HoYoverse
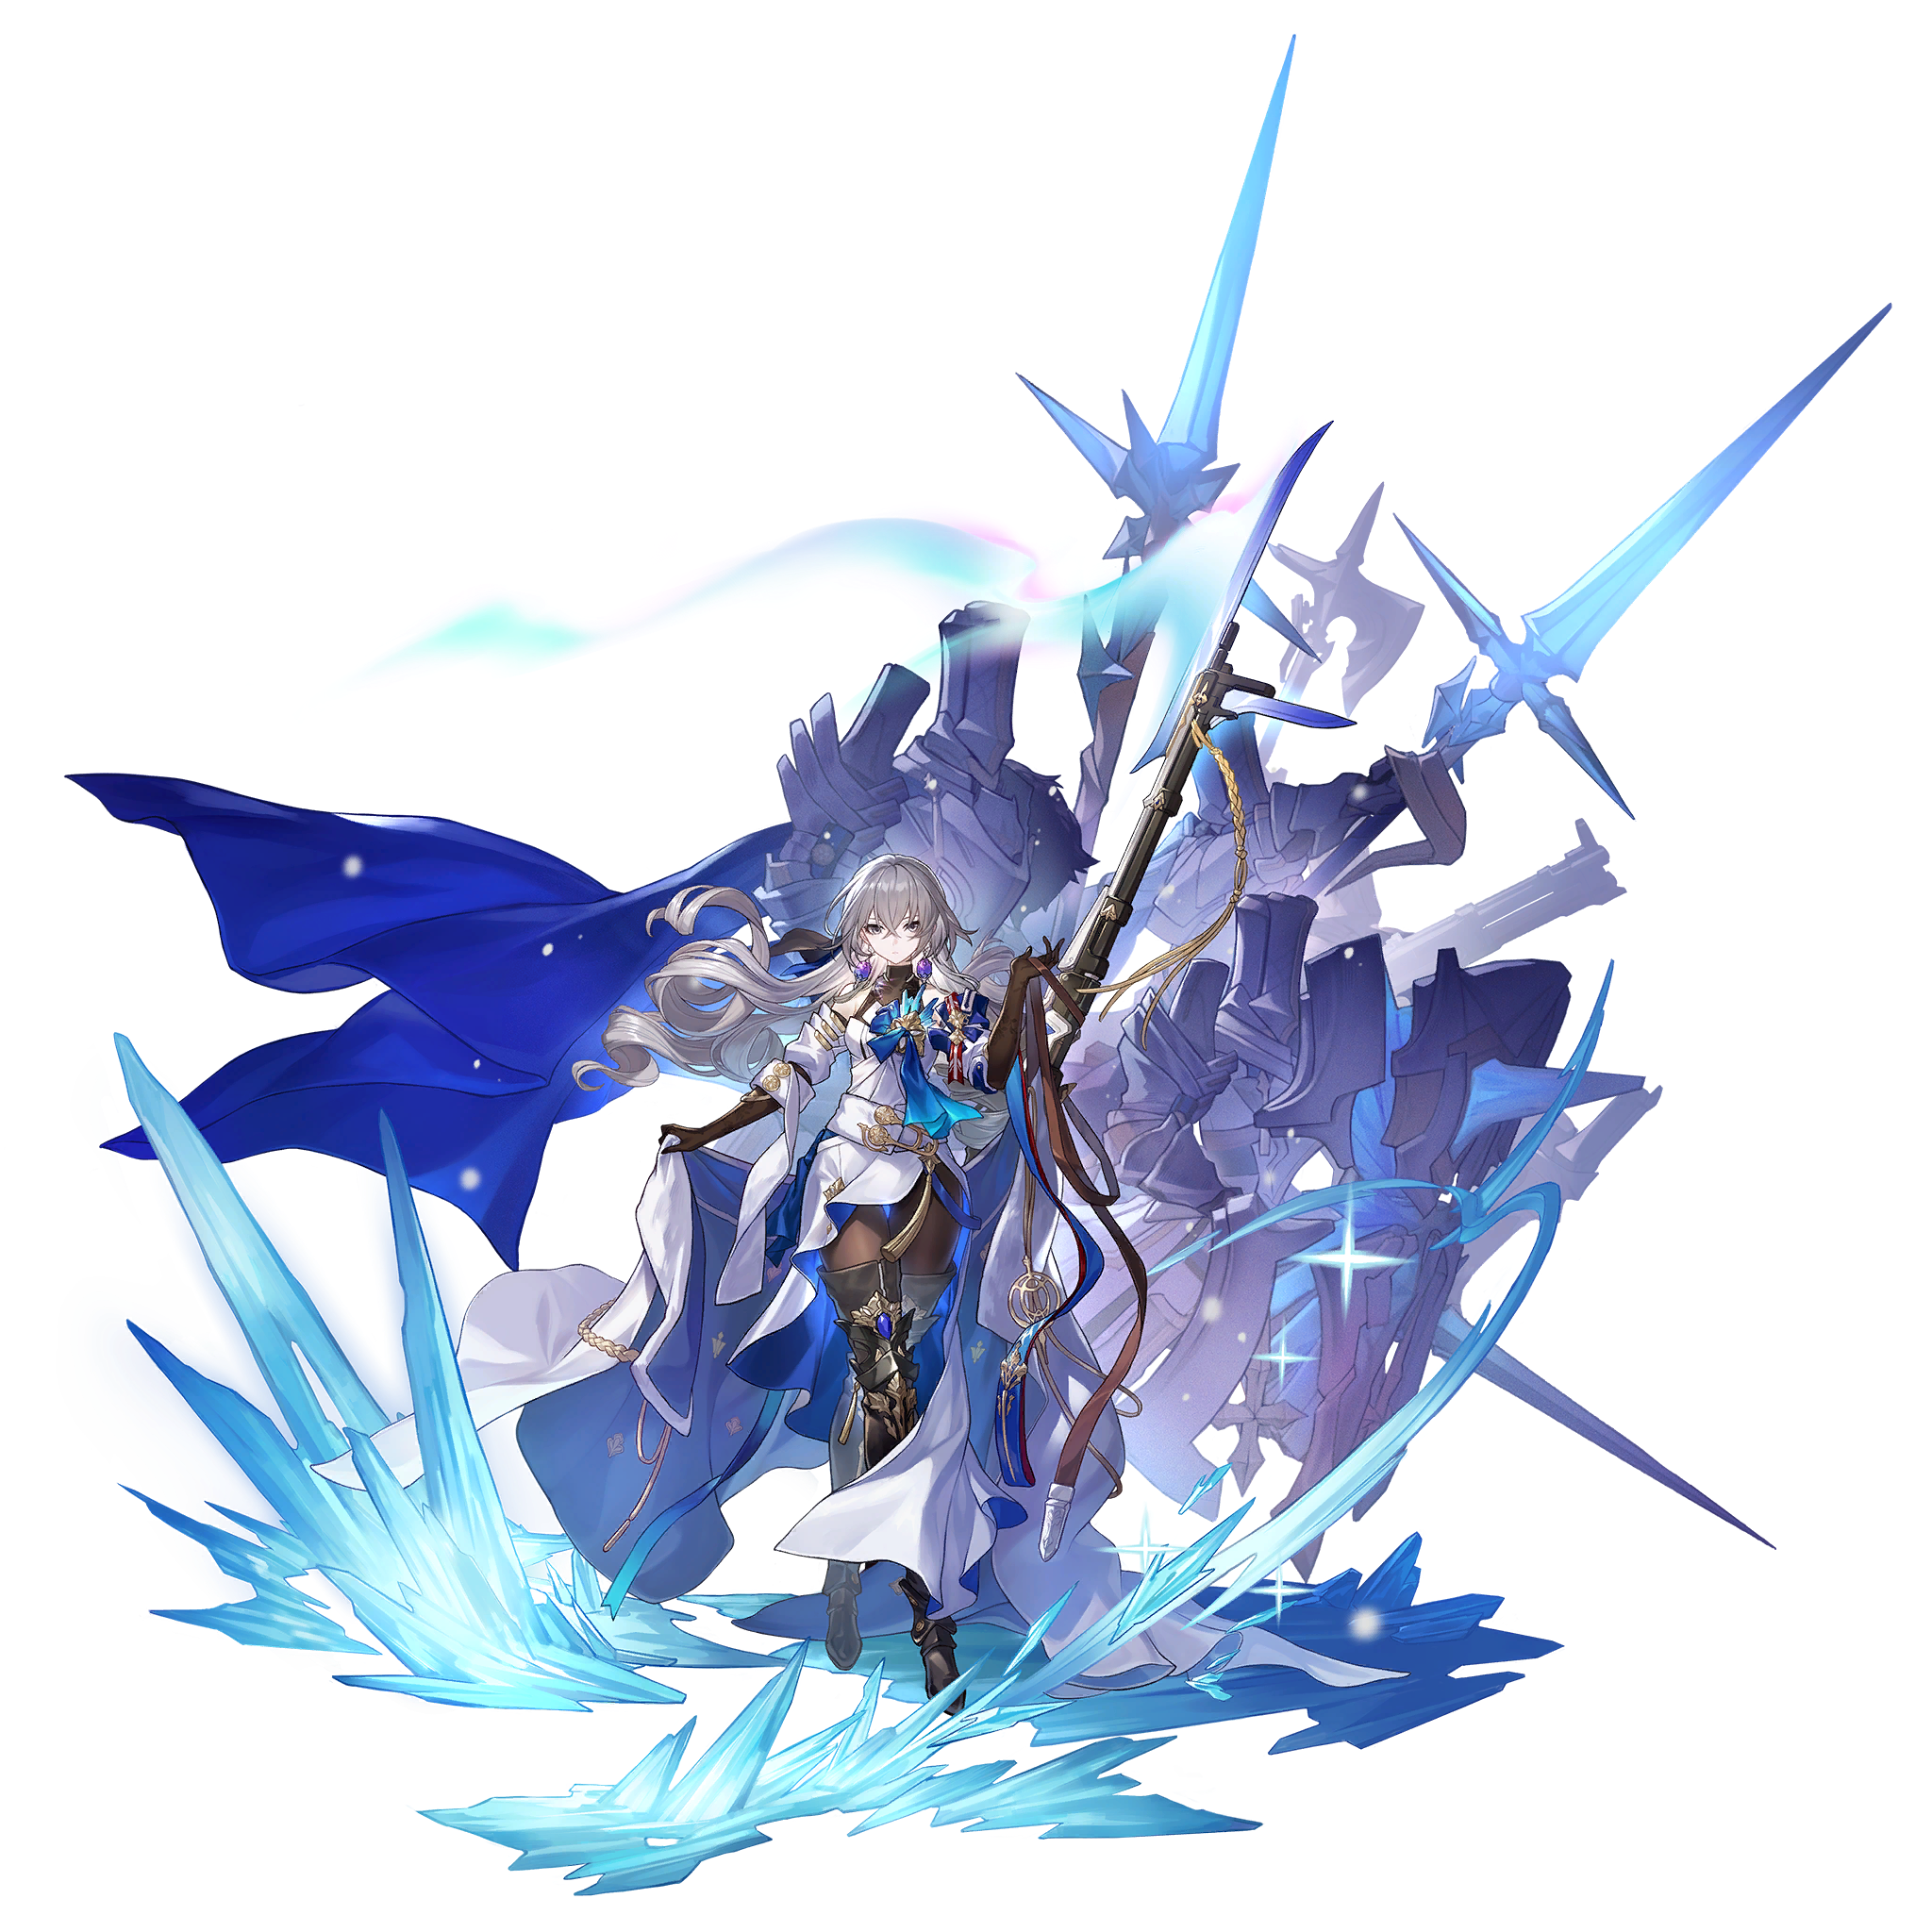
Bronya
Bronya is a Harmony Path Wind character. Her kit focuses on buffing allies and increasing their action economy through ally turn manipulation. This is especially potent when paired with characters that already deal a high amount of damage. Her incredible support capabilities make her the most valuable Standard 5★.
Bronya’s Skill is a targetable ally buff that advances the character’s action by 100%, dispels a debuff if there are any present, and increases their damage for one turn. It is an incredibly potent combo starter that can also offset low speed. Note that while Bronya can target herself with her skill for the damage increase on her next turn, the action advancement effect does not apply to Bronya herself, and can only affect other allies.
Her Ultimate massively increases her allies’ ATK% and CRIT DMG% for 2 turns.
As of launch, Bronya is widely considered the best Standard 5★ in the game, and it is unlikely that she will be powercrept in her niche because of how fundamentally powerful her action economy manipulation is. Players rerolling purely based on meta should likely choose her as their primary reroll target.
A+ Tier

Artist: Hoyoverse
Welt
Welt is a Nihility Path Imaginary character. His kit focuses on inflicting Imprisonment, which delays enemy actions and lowers their speed. He is an excellent reroll target because he brings additional defensive utility on top of a fairly solid DPS kit. Additionally, he is the only Imaginary character available on release.
Welt’s Skill deals damage to a single enemy and then inflicts 2 more hits on random enemies. Each hit has a 75% chance to decrease the enemy’s speed by 10%.
His Ultimate deals damage to all enemies and inflicts all of them with Imprisonment (if they are not immune to Imprisonment). Imprisonment delays enemy actions by 40% and reduces the enemy’s speed by 10%.
Welt is fairly powerful, but it’s debatable whether he has as much long-term value as Bronya because his form of action economy manipulation is weaker. He’s still a step up from the other A-tier characters.
A Tier

Artist: Hoyoverse
Yanqing
Yanqing is a Hunt Path Ice character. He compensates for low utility and flexibility with unrivaled raw single-target damage. This single-minded focus is Yanqing’s greatest strength, but also his biggest weakness; he doesn’t function particularly well as a flex DPS slot, wants the team to be built around him, and suffers if you don’t have certain characters.
Yanqing’s kit revolves around his Skill and Talent, which grant him the Soulsteel Sync passive on use. Soulsteel Sync greatly increases Yanqing’s CRIT Rate% and CRIT DMG% for 1 round, lowers his chance to be targeted, and gives him a chance to perform follow-up attacks that can Freeze the attacked enemy, rendering them unable to take their next action. However, if Yanqing receives any damage – notably, including AoE damage – the Soulsteel Sync will be disabled and Yanqing will lose all its benefits. As a result, he’s fairly reliant on shielding and crowd-control and does not benefit much from healing, which can limit his team compositions.
Yanqing also has some issues due to his extremely expensive Ultimate, which costs 140 energy. Supports like Bronya and Tingyun can help offset his energy issues, but they are units in high demand across multiple teams.
All said, Yanqing is powerful – but only with the right support, and in the right situation. He’s a high risk, high reward unit with a lot of potential. A solid reroll option for those willing to invest most of their resources into building around him.

Artist: Hoyoverse
Bailu
Bailu is an Abundance Path Lightning character. She is one of only two healers on launch, and is definitely the better of the two when it comes to raw healing. This means that she is incredible not only in the early-game, but also in late game content which requires multiple teams and/or heavy healing. However, it is likely that her meta value will diminish over time, as she lacks any other utility. Future healers that provide a combination of healing and other support will likely be more valuable in end-game teams where role-compression matters.
Bailu’s Skill heals a targeted ally, and then randomly bounces around two more times with diminishing returns. It is more than strong enough to keep her allies topped up, but the random targeting can occasionally cause problems.
Her Ultimate heals her entire team and grants them the “Invigoration” status. Applying the status when it already exists extends its duration by up to 2 turns. This status heals the affected ally immediately after they receive damage, up to 2 times.
Her Talents and Traces boost characters’ max HP, grants damage reduction, and can immediately revive up to 1 character per battle when they die.
Bailu is the best pure healer at the moment, which makes her a fairly valuable reroll target. However, uncertainty regarding power creep and future character and encounter design make it hard to say if she will remain this way.
Artist: Hoyoverse
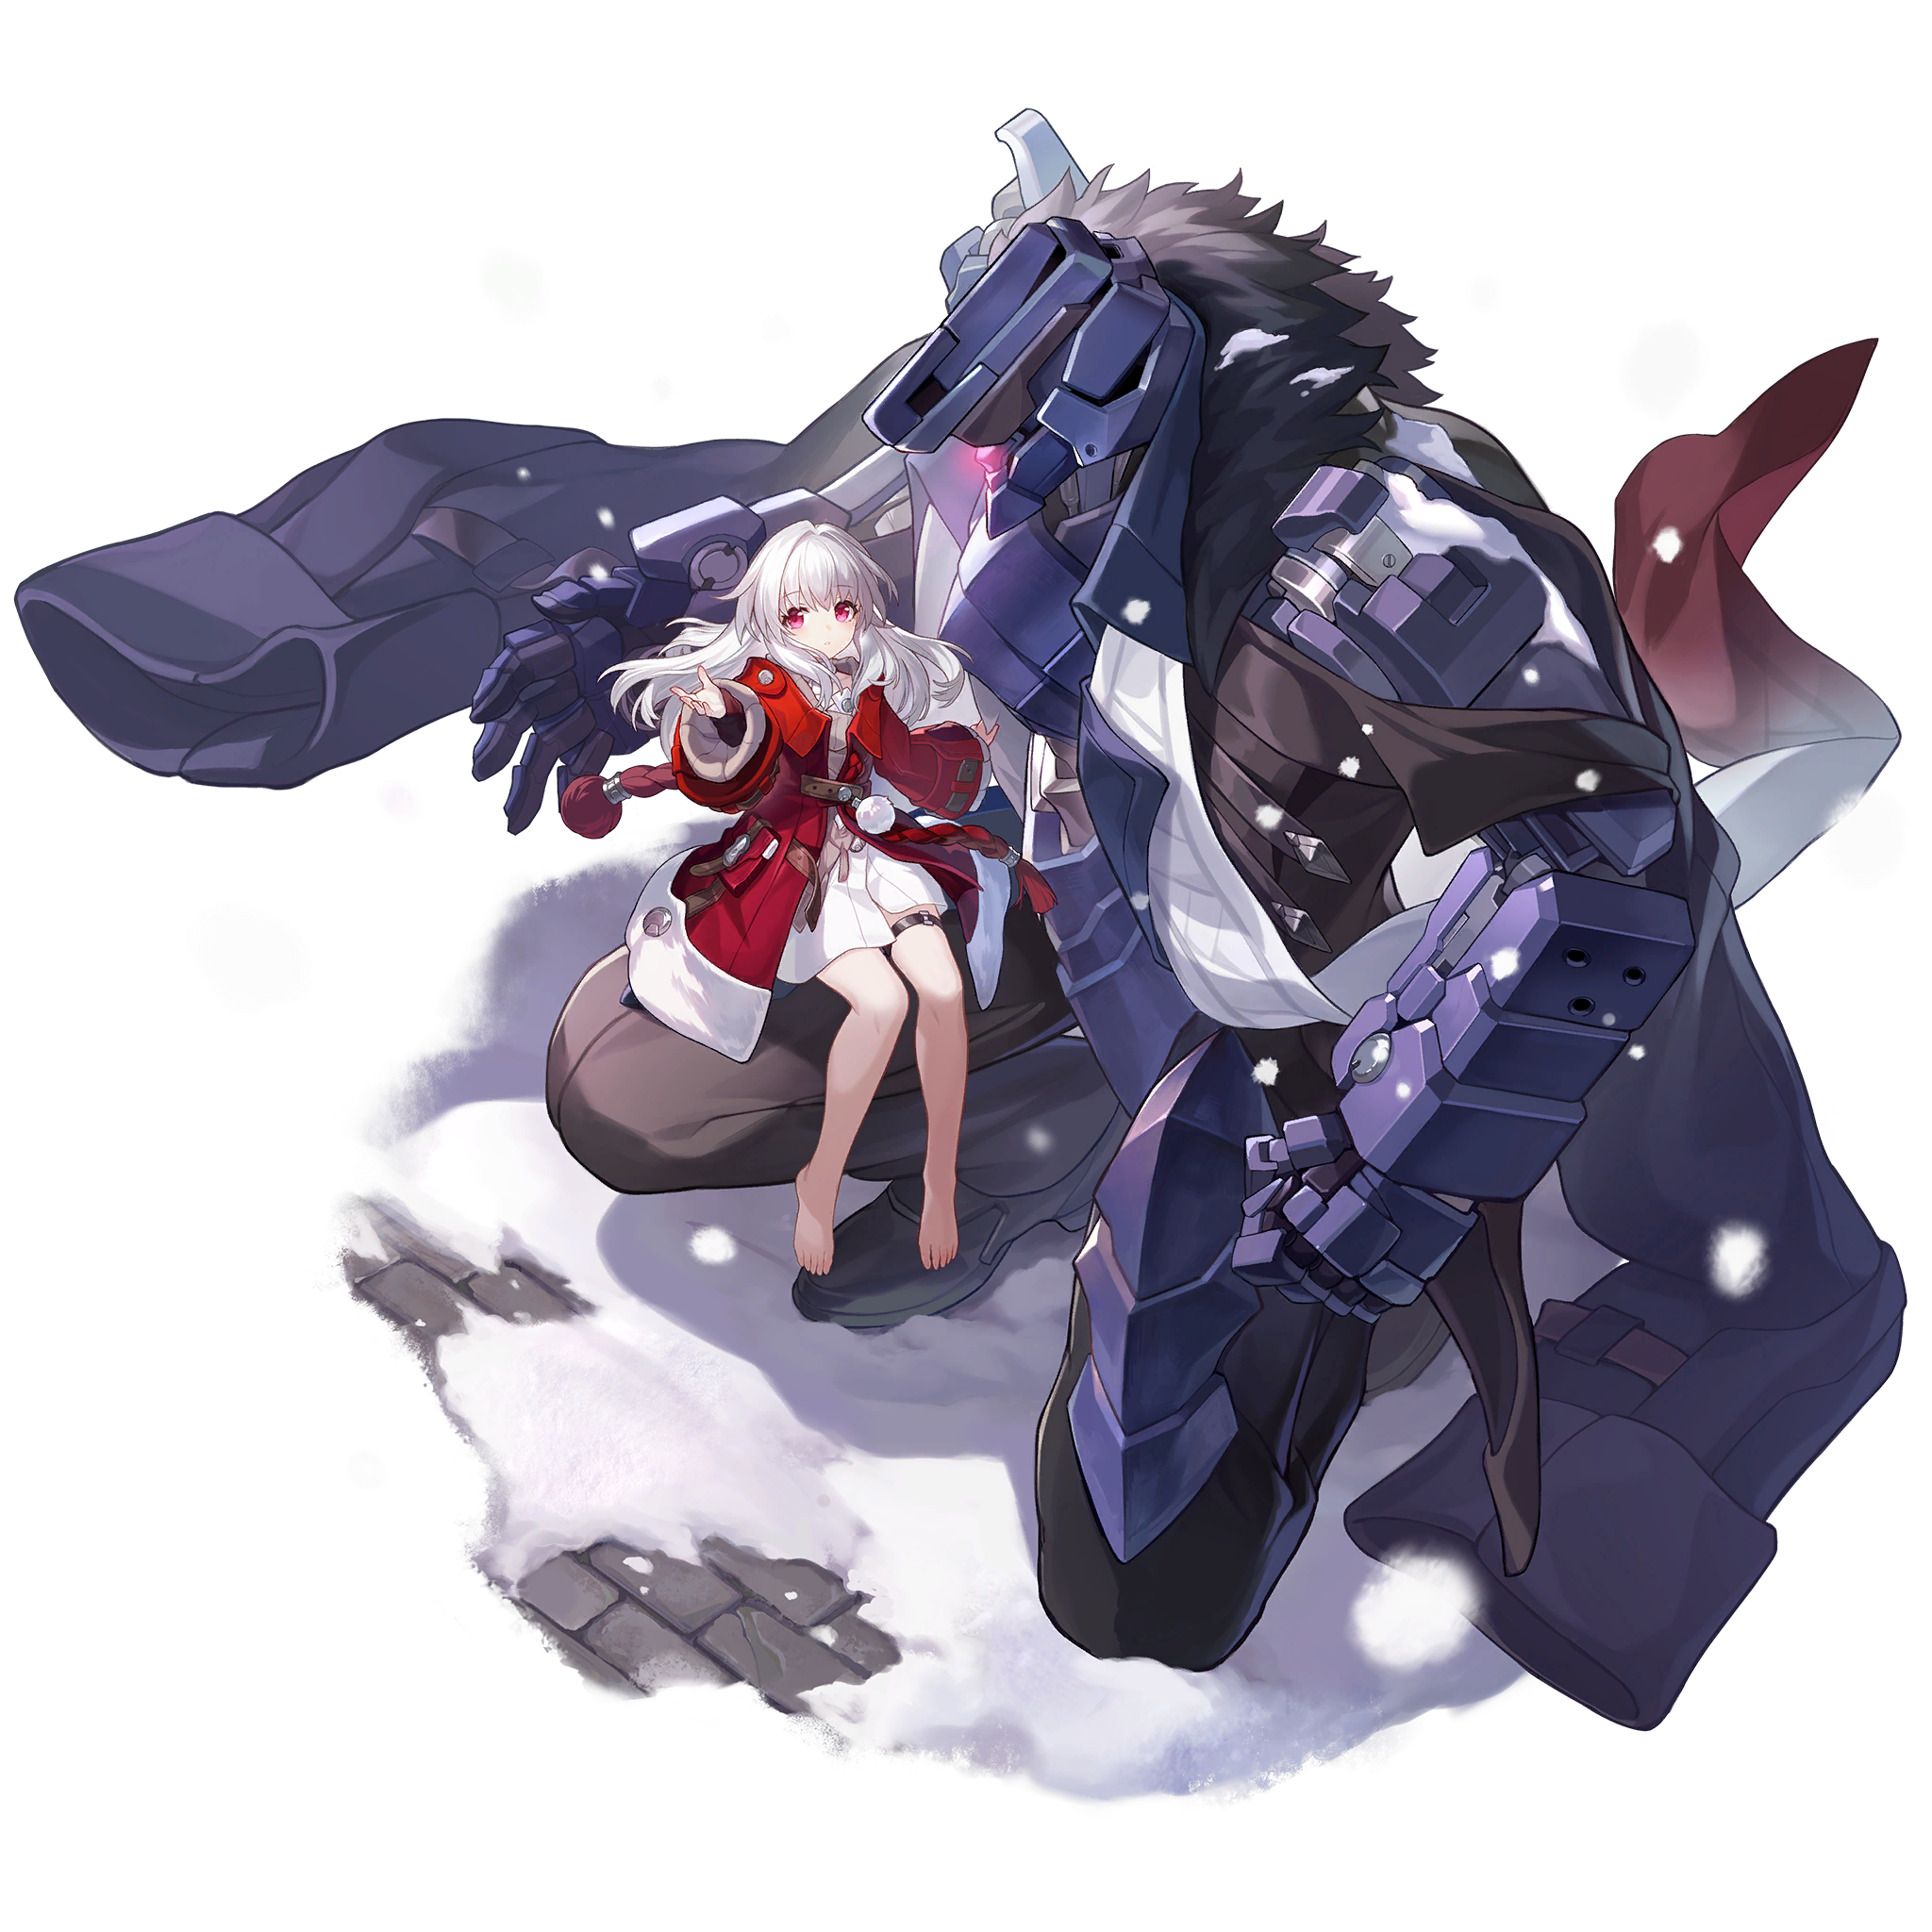
Clara
Clara is a Destruction Path Physical character. Her unique kit is focused around taunting enemies and then counter-attacking with her robot guardian Svarog whenever she is attacked. While she theoretically can have the highest damage in the game, she can also have the lowest, depending on the number of enemies that attack her.
Clara’s Skill deals AoE Physical damage that is boosted by consuming Marks of Counter that she applies on enemies she counterattacks. It is fairly easy to maintain Marks on enemies due to her Technique, which draws aggro for the first two turns of combat.
Her Ultimate grants her additional damage reduction and further increases enemy aggro towards Clara. It also enhances Svarog’s next few counters and allows him to counterattack when any teammate is attacked.
Finally, her Talent and Traces further improve her survivability; they can grant resistance to Crowd Control, cleanse debuffs, and boost damage.
As with any unconventional unit, Clara has a bit of a learning curve, and more than a few restrictions. For example, she doesn’t work well with units that have Taunt skills, like Gepard. Still, she’s a fairly powerful unit with a lot of potential synergies as more units are introduced to the game.
Artist: Hoyoverse
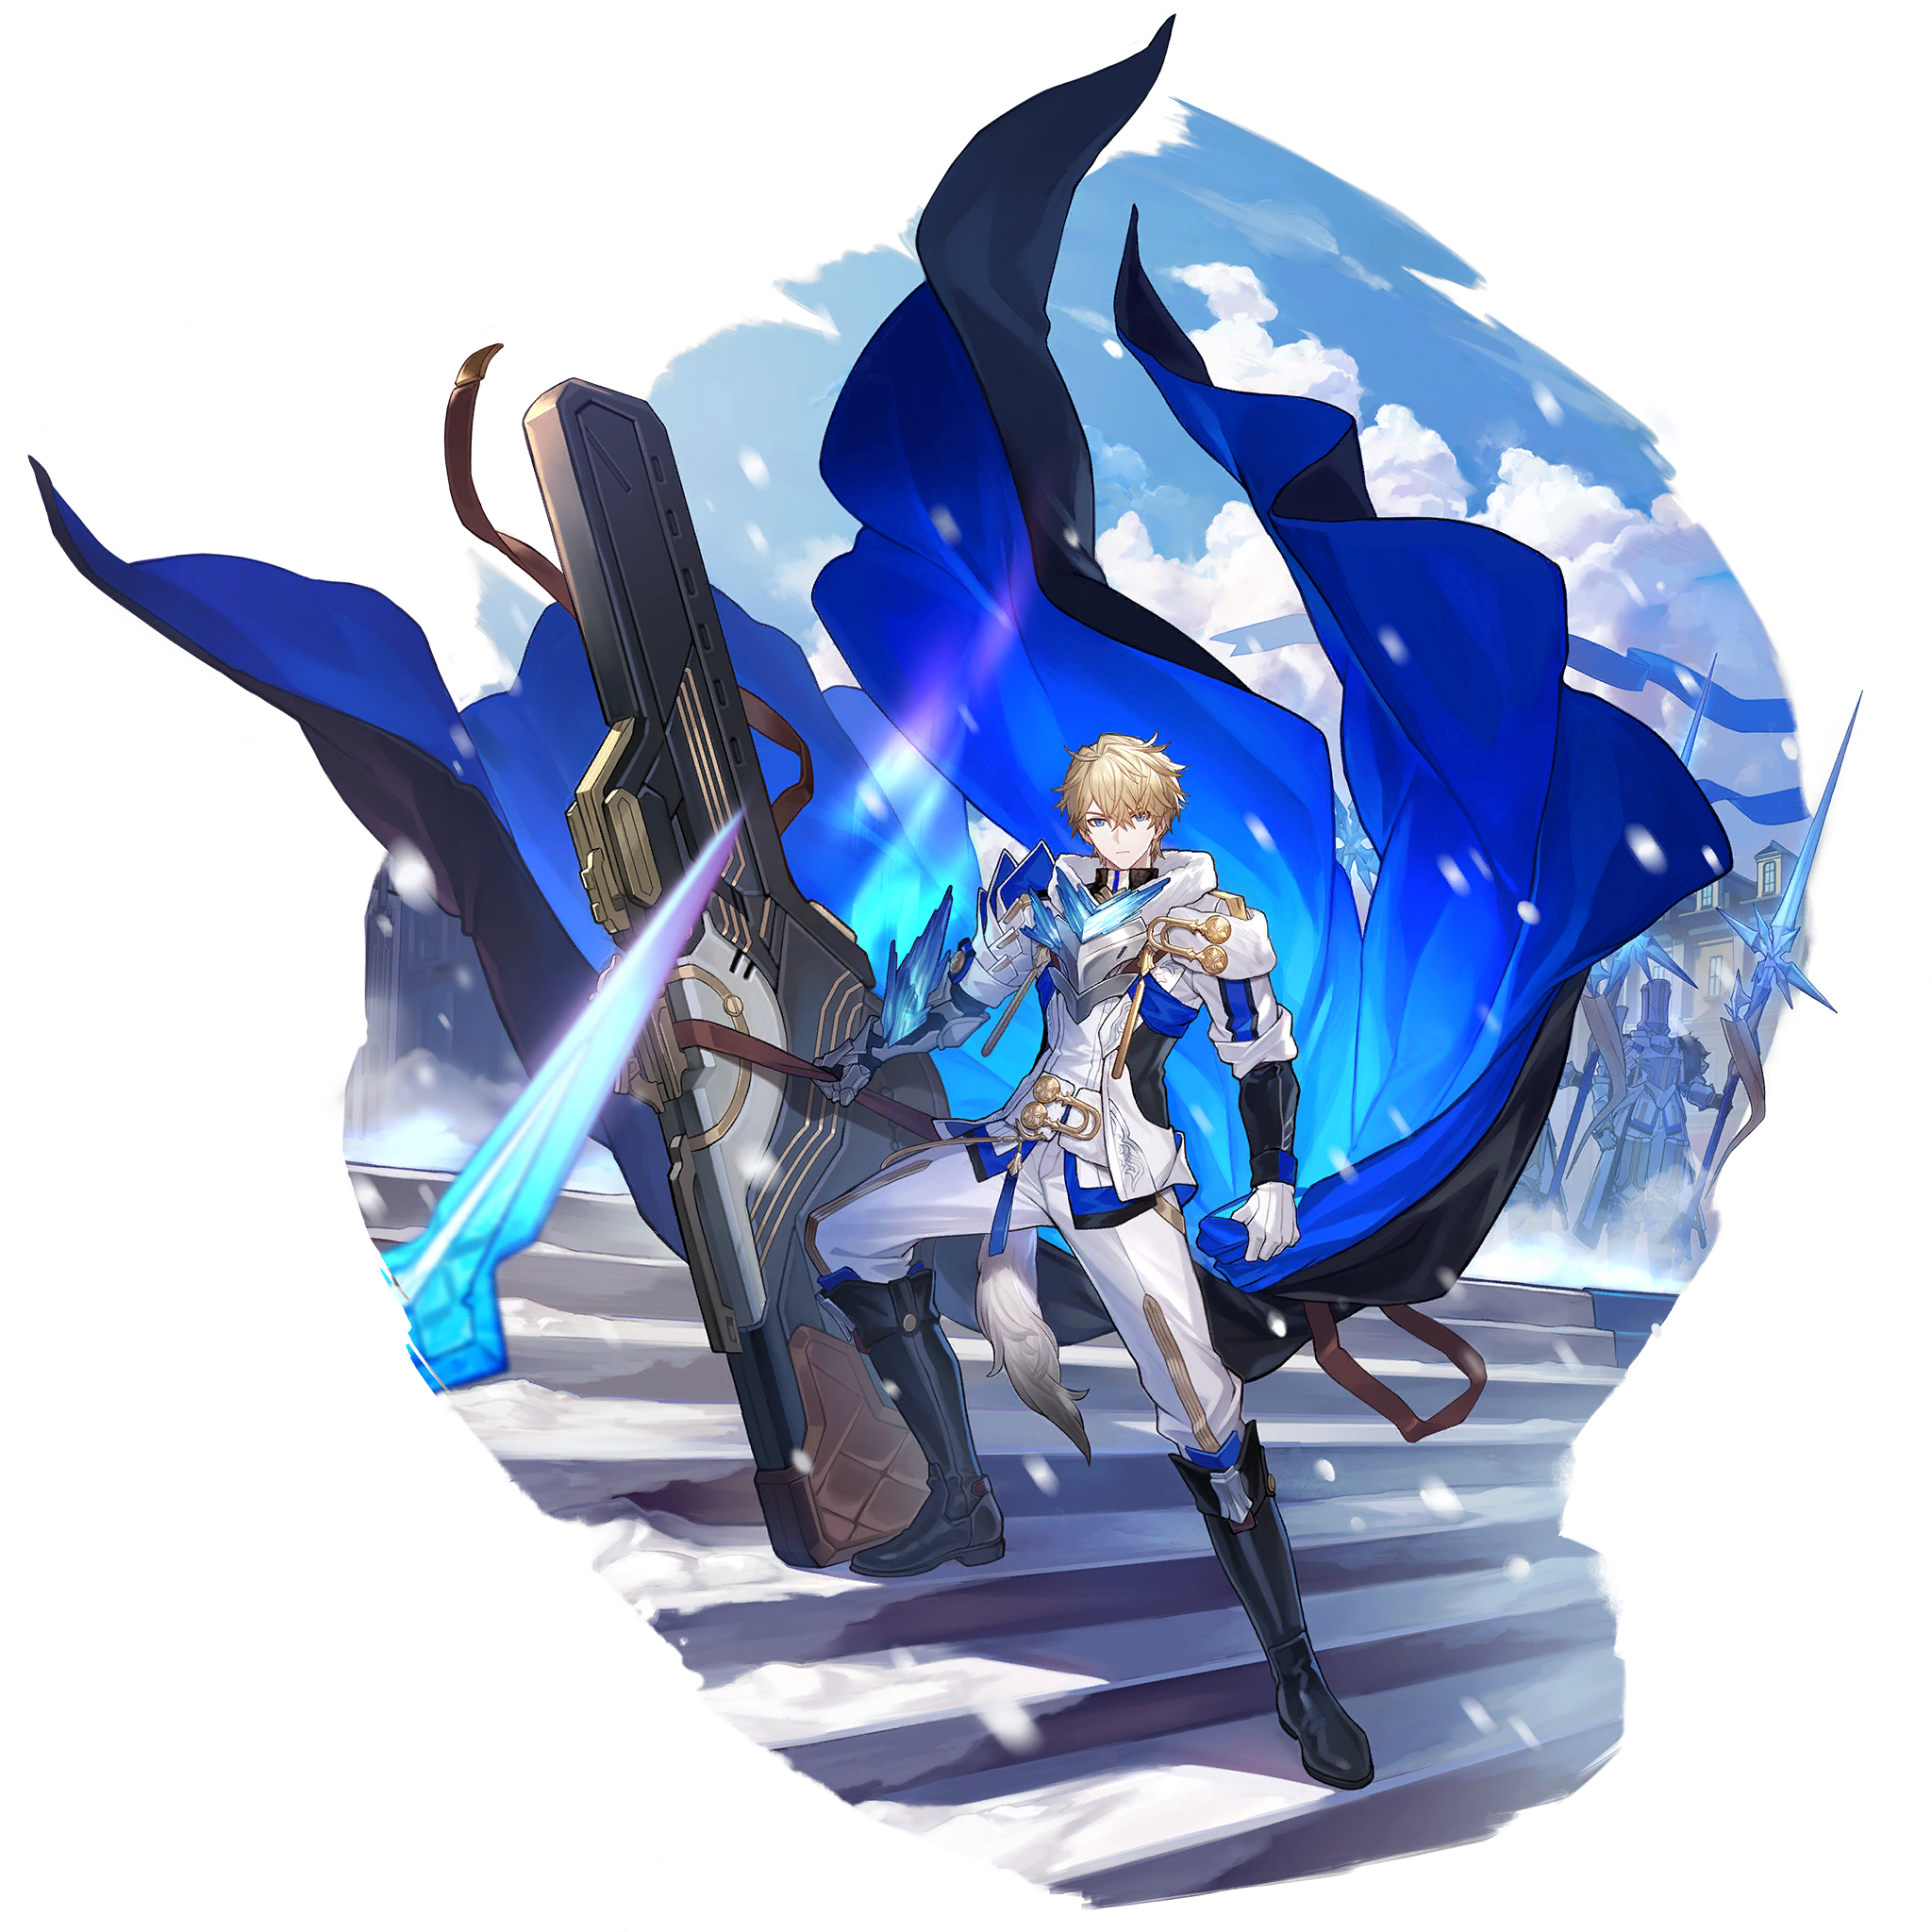
Gepard
Gepard is a Preservation Path Ice character. His kit focuses on taunting, shielding the party, and reviving himself, though he can also Freeze enemies due to his elemental typing. However, his kit has a couple problems that make him awkward to play, especially in the early game. His biggest issue is the fact that his shield is tied to his Ultimate, which means that it has uptime issues, especially due to Energy Regen Rate being hard to come by in the early game. This downtime is also compounded by his lack of healing.
Gepard’s skill inflicts Ice damage and has a base 65% chance to Freeze the enemy for 1 round. The Freeze effect is useful crowd control, and can be guaranteed by building some Effect Hit Rate.
His Ultimate applies a shield on all allies based on his DEF. The shield he provides is decently strong, but the fact that it’s tied to his Ultimate means there are gaps where enemies could potentially get past his defenses.
Gepard’s Talent gives him a once-per-fight revive to 25% of his Max HP, and his Technique grants the entire team a fairly tanky shield for 2 turns at the start of a fight. If Gepard is invested into Energy Regen, this technique allows him to achieve decent shield uptime until his first ultimate expires.
Overall, Gepard is a solid defensive unit that many players will appreciate, especially early on in the game’s lifespan, as strong defensive supports and healers are currently scarce.
B Tier
Artist: Hoyoverse
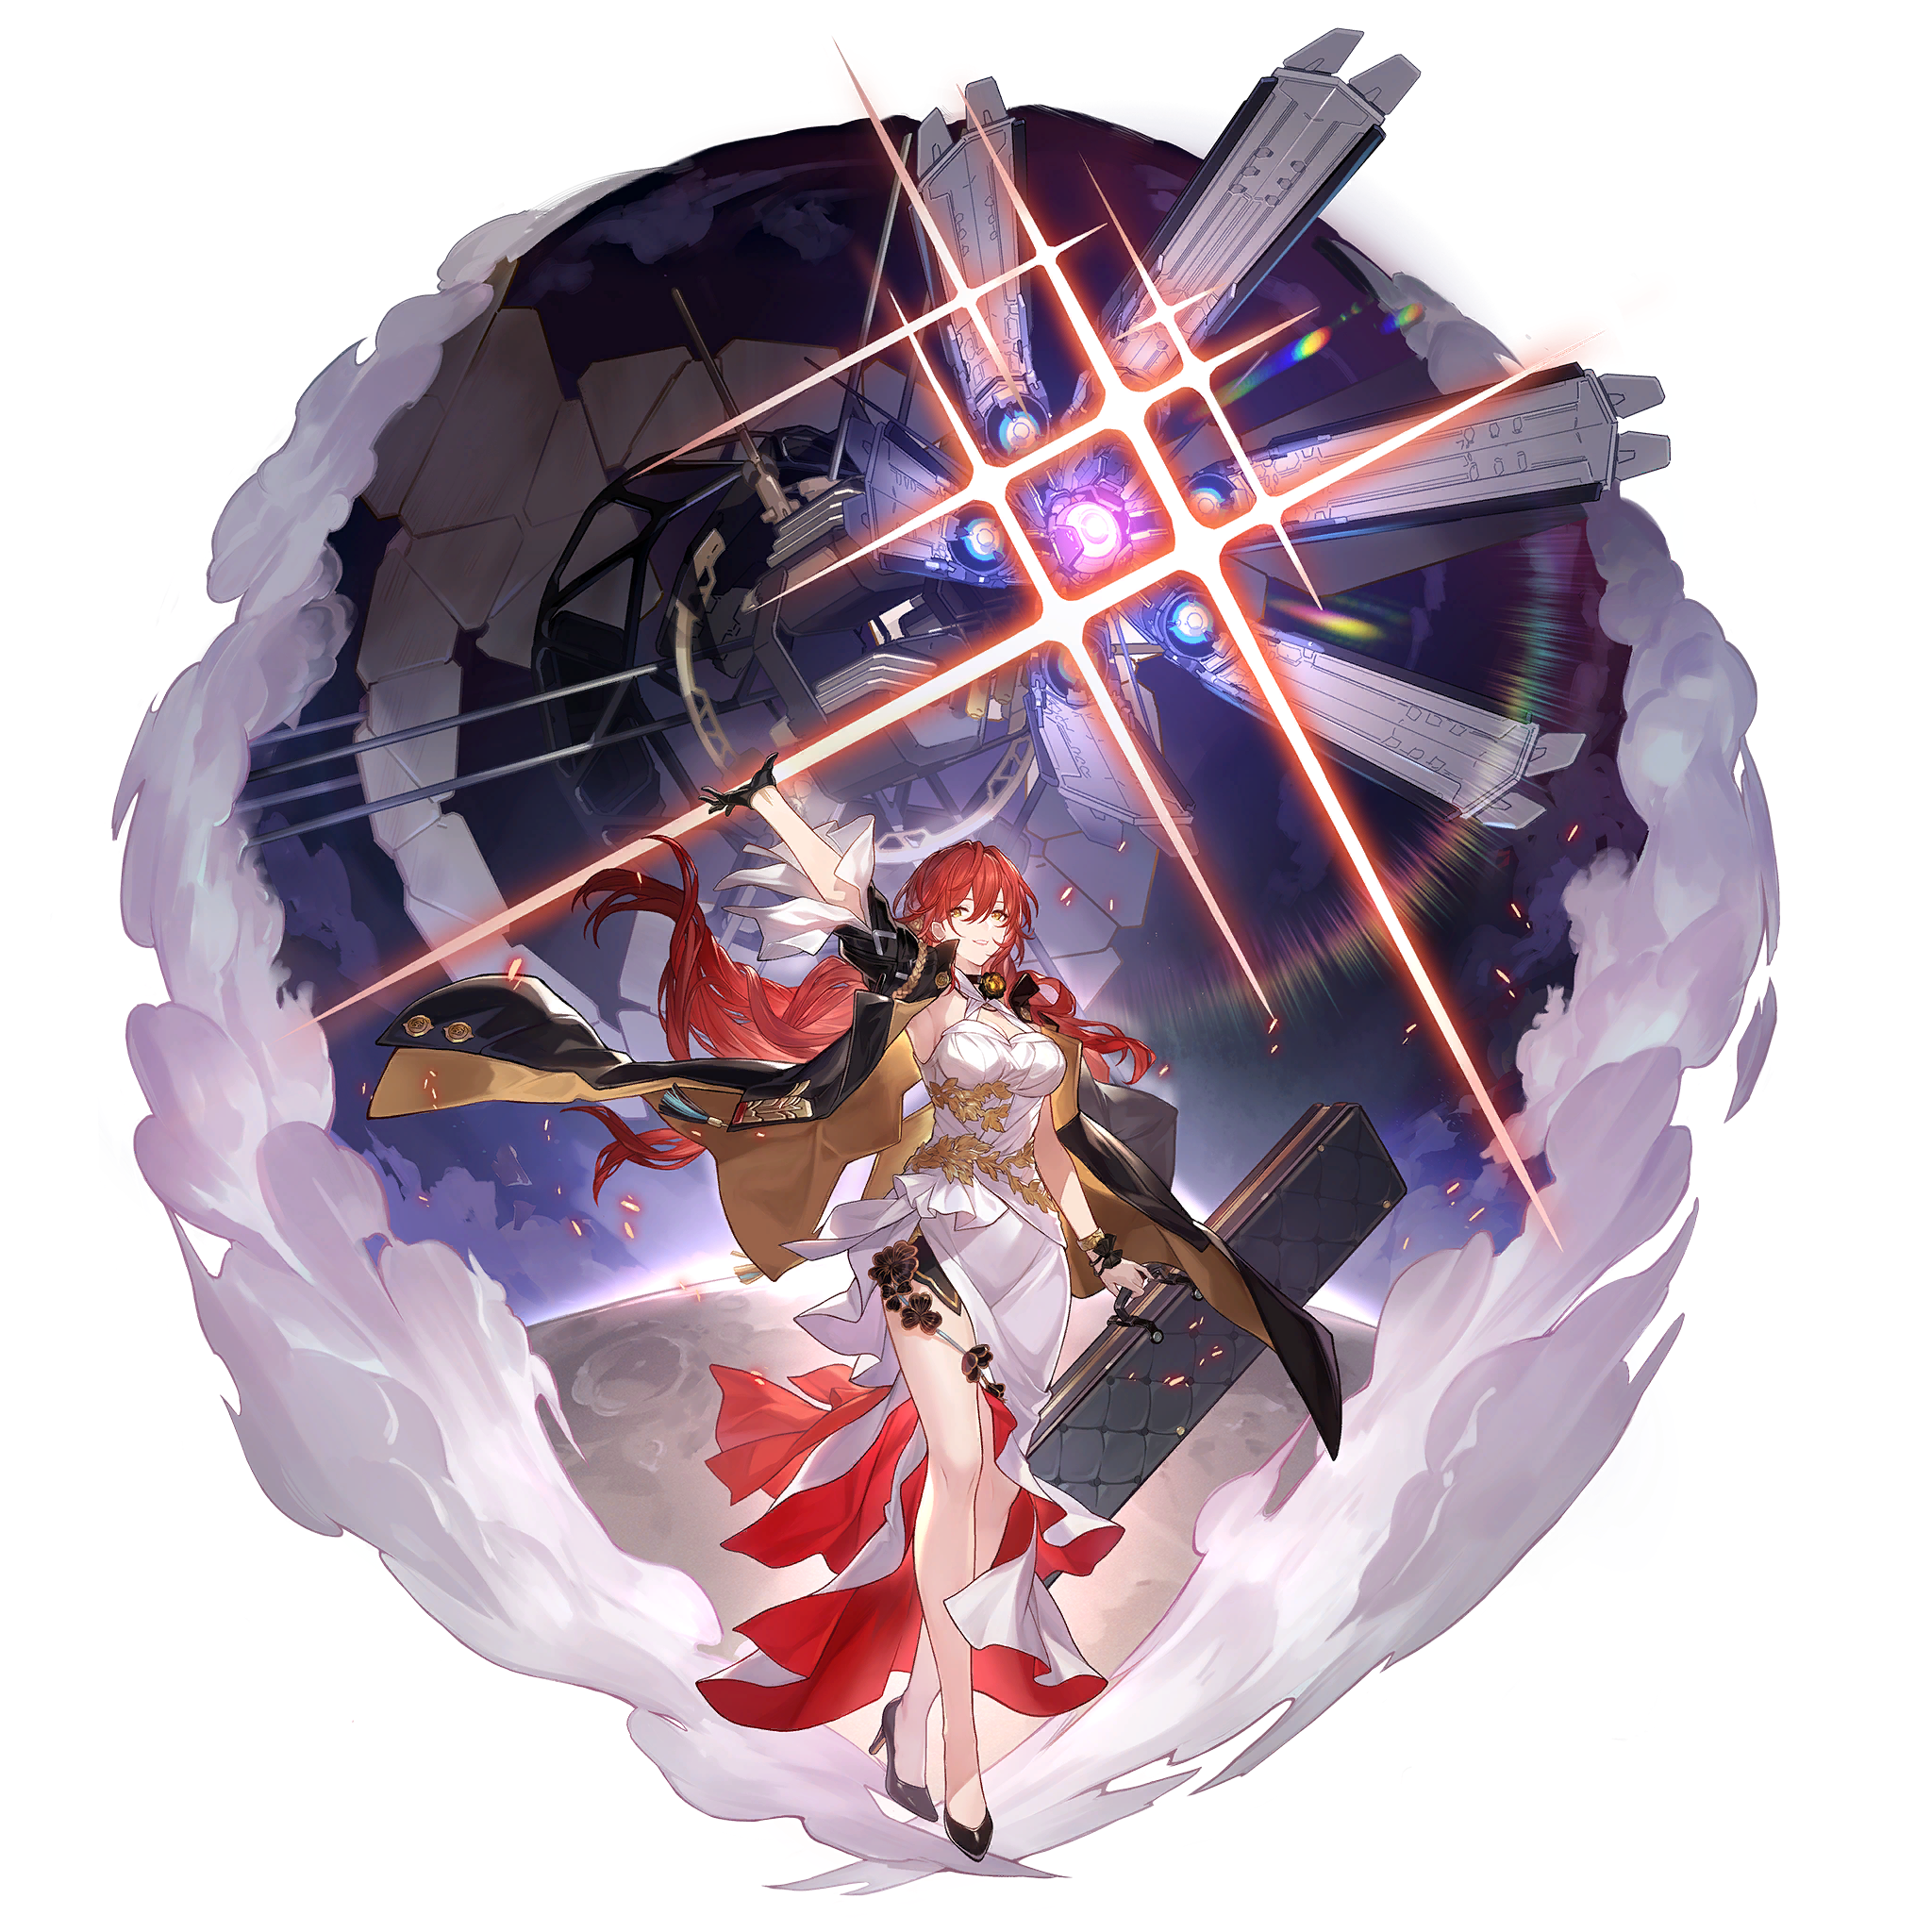
Himeko
Himeko is an Erudition Path Fire character. Her kit revolves around dealing AoE damage and building up Charge to perform coordinated attacks during her allies’ turns. This makes her a decent sub-DPS unit, especially in multi-wave Boss battles. However, her poor single-target performance limits her potential as a generalist.
Himeko’s Skill is a straightforward AoE attack which does reduced damage to enemies adjacent to her target .
Her ultimate is an AoE Fire attack that refunds energy on each kill. It’s a potent, highly spammable mobbing tool that makes her excellent in casual content.
Finally, Himeko’s Talent builds Charges whenever an enemy’s Toughness bar is broken (also known as Weakness Break), culminating in an AoE attack she coordinates alongside an ally attack at 3 Charges. Notably, she gains 3 charges immediately when a Boss or Elite enemy is Weakness Broken.
All these skills are greatly augmented by Himeko’s A2 Trace, which gives all of her attacks a chance to Burn enemies for 3 turns.
In short, Himeko is a little niche, but she’s quite strong at what she does. Unfortunately, the lack of single target damage combined with the lack of additional utility puts her below the rest of the standard 5* cast, as many other F2P options exist for AoE damage, and her overall damage is quite lacking for a 5* character. Not recommended to reroll for if you’re interested in meta.
Conclusion
We hope you found this Day 1 guide informative! We will be posting several other new player guides in the coming days. In the interim, check us out on Discord, where we’ll be doing all of our theorycrafting and testing. Best of luck with your rolls!
Credits
Akane#0926
ChereYumi#3369
Cyn#0962
fourmana#0477
jas#6562
Leifa#1359
marionette#2840
paimonbukeyi#1544
stone#8952
